How to Install RAM: Step-by-Step Memory Installation Guide
This guide contains affiliate links. If you buy through them, we may earn a commission at no extra cost to you.
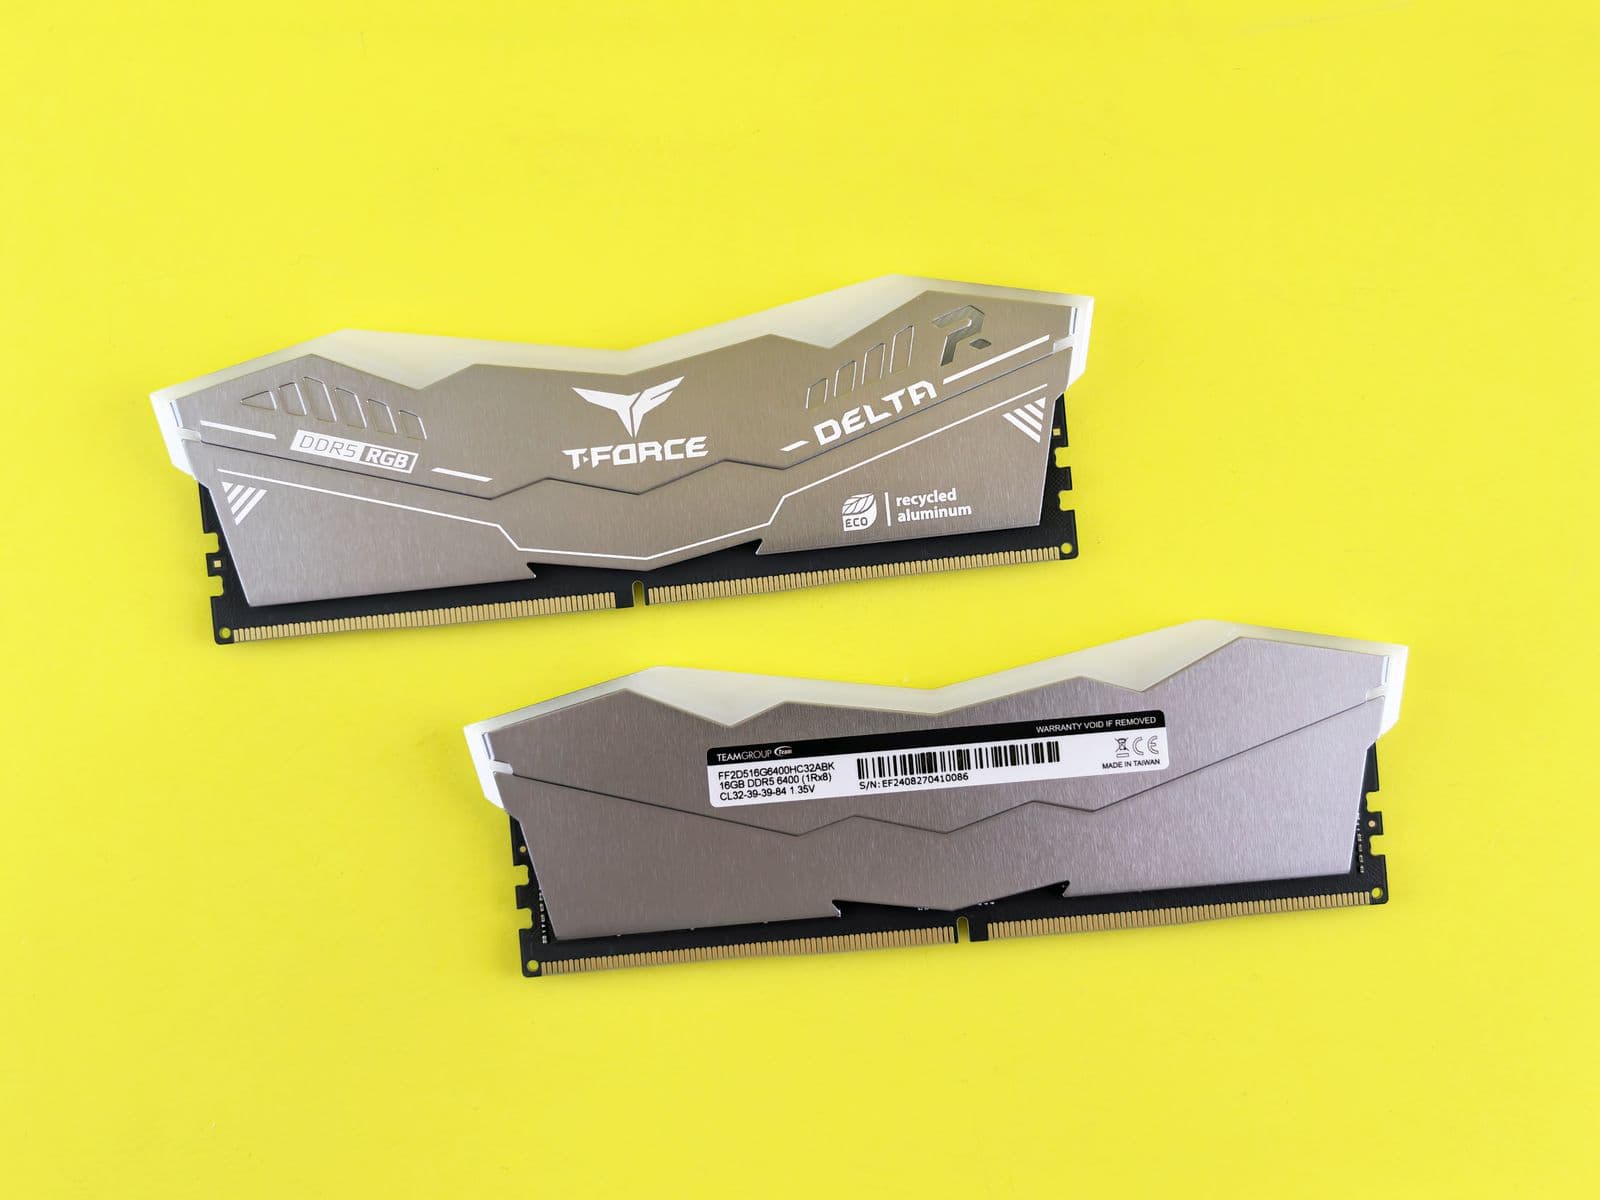
Installing RAM takes about two minutes: open the retention clips on the correct slot pair, align the notch on the stick with the notch in the slot, and press straight down on both ends until the clips click shut on their own. The notch only lines up one way, so the stick physically won't seat backward. The part that actually trips people up isn't the seating, it's picking the right slots for dual-channel and remembering to enable XMP afterward.
This guide covers the exact steps, which slots to use with two sticks, and the two things that cause almost every "installed it, won't boot" problem.
Before You Touch the Case: Power Down and Check Your Slots
Shut the PC down completely and unplug the power supply (PSU) from the wall, not just the switch on the back of the unit. RAM slots sit close to the CPU socket, and working inside the case with any standby power present is worth avoiding entirely.
Open the side panel and find the RAM slots next to the CPU socket, the long thin slots with a clip at each end. Most current motherboards ship with four slots, though compact boards built for small cases sometimes have two. Check your specific board: the DB behind the PC Builder shows roughly three four-slot boards for every one two-slot board among current motherboards, so four slots is the more common layout but far from universal.
Ground yourself before touching anything by tapping an unpainted metal part of the case. RAM slots and the sticks themselves are sensitive to static discharge in a way most other components tolerate better.
Seating the Stick: The Steps That Actually Matter
- Open the retention clips on both ends of the slot you're using. Push them outward until they sit flat. Most slots only have a clip on one side, with the other side fixed, but some have clips on both ends.
- Line up the notch on the stick's gold connector with the notch in the slot, holding the stick by its edges, not the gold pins. The notch position is offset, not centered, so the stick only fits one way.
- Press straight down with even pressure on both ends of the stick, not one end first. You'll feel it seat, and the retention clips should snap closed on their own as the stick reaches the bottom of the slot.
- Check both clips are fully closed and the stick sits flush, with no visible gap between the stick and the slot.
- Repeat for the second stick in the matching slot, if you're installing a two-stick kit.
If a stick doesn't seat with a firm, even push, stop and check that the notch lines up and both clips are fully open before trying again. RAM slots take noticeably more force to seat than most people expect. That's normal, but pushing on one end before the other, or pushing at an angle, can crack the stick's PCB, so keep the pressure even across the top edge.
Which Slots to Use for Dual-Channel
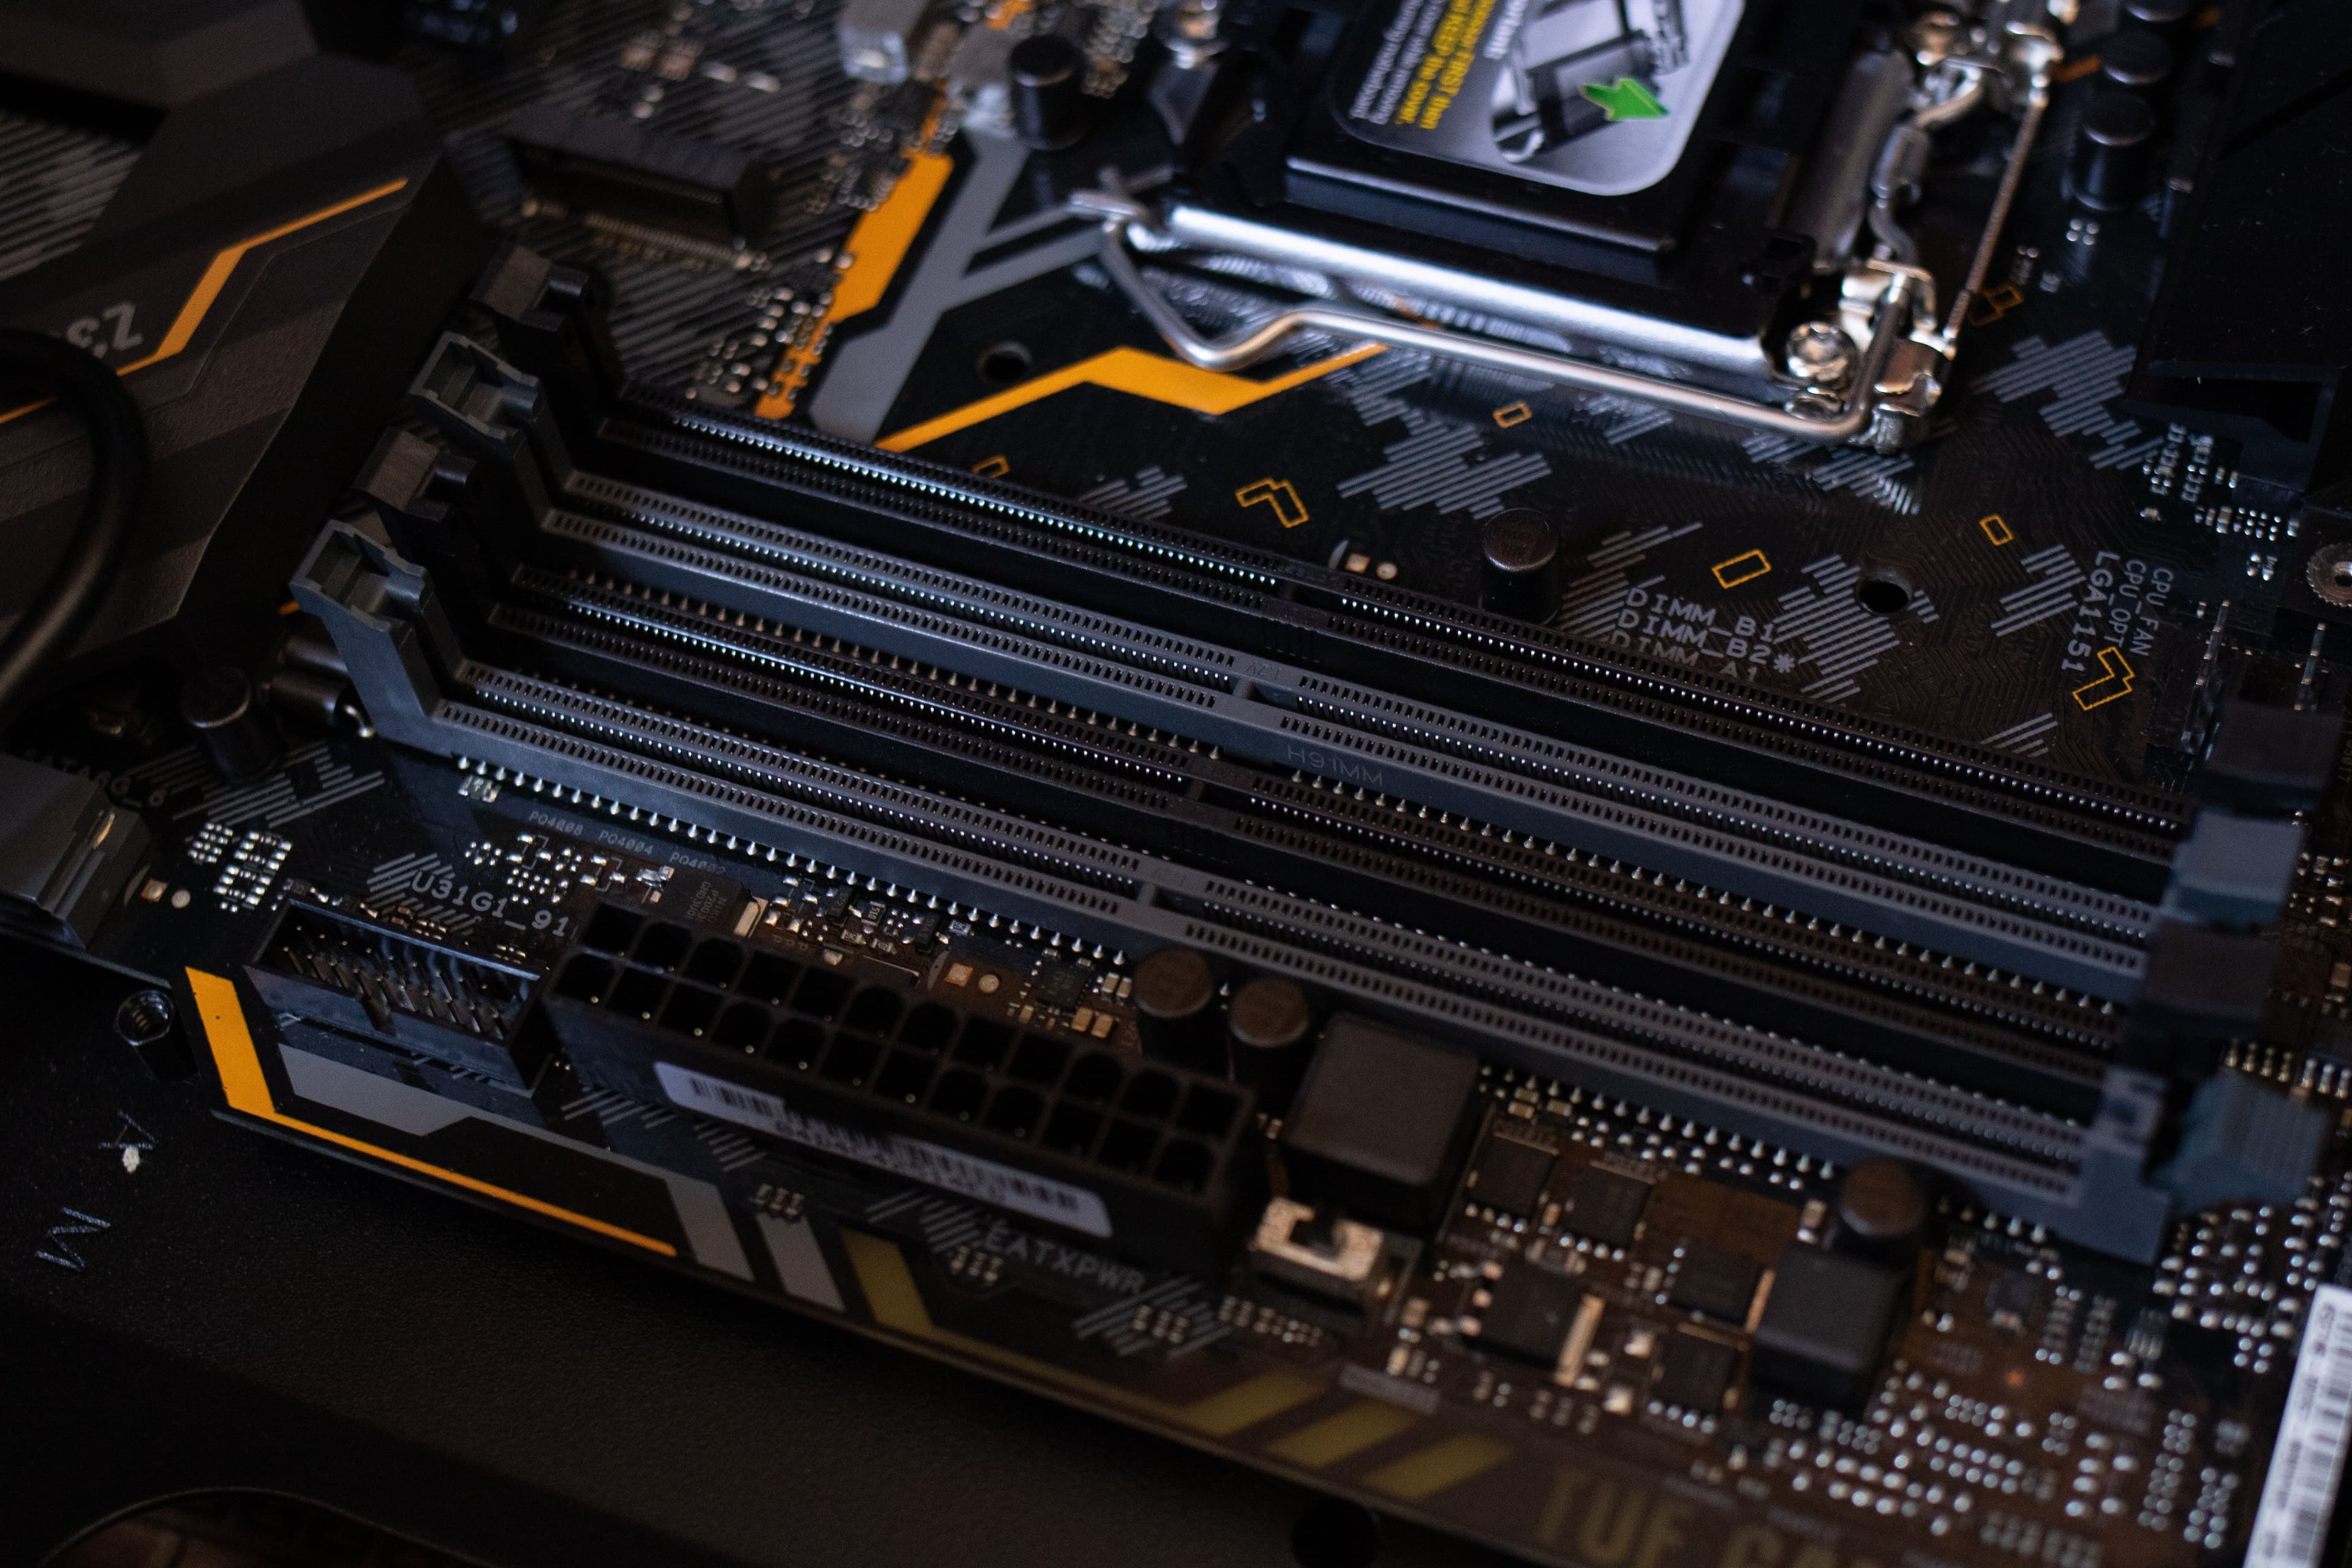
With a single stick, slot choice doesn't matter, drop it into any slot and the PC boots. With two sticks, the slot pair matters. Installing a two-stick kit in the wrong pair of slots doesn't stop the PC from booting, but it runs the RAM in single-channel mode instead of dual-channel, which measurably hurts gaming performance since the CPU can't pull data from both sticks at once.
Check your motherboard's manual or the labels silkscreened next to the slots themselves. On most boards, the correct pair for two sticks is the second and fourth slots counting from the CPU socket, typically labeled A2 and B2, not the two slots sitting closest to the processor. This isn't universal across every board, so confirm against your specific manual rather than assuming.
For the full breakdown of DDR4 vs. DDR5, XMP and EXPO, and dual-channel slot logic, the RAM compatibility guide covers the reasoning in more depth than fits here.
Enabling XMP or EXPO After Installation
RAM ships running at a slow default speed until you tell the motherboard otherwise. Most current DDR5 kits default to 4800MHz regardless of what speed is printed on the stick, so a DDR5-6000 kit installed with no further steps typically runs at 4800MHz, leaving real performance on the table.
Restart into BIOS (usually Delete or F2 during boot, see the how to enter BIOS guide if you're not sure which key or you keep missing the timing) and look for a memory or overclocking section. Enable XMP on Intel boards or EXPO on AMD boards, save, and reboot. It's a single toggle, and current DDR5 kits ship with both profiles built in regardless of which platform you're on.
Confirming the Install Worked (and Fixing No-Boot Issues)
Boot the PC and check the total RAM detected, either in BIOS or in Windows under System settings. If the number matches what you installed, for example 32GB from a 16GBx2 kit, the install worked and dual-channel is likely active.
If the PC doesn't boot, or boots but reports less capacity than you installed, power down, unplug the PSU, and reseat each stick individually. Confirm both retention clips are fully clicked closed and there's no visible gap at either end of the stick. A stick that looks seated but isn't fully clicked in is the single most common cause of a "new RAM, no boot" report. If reseating doesn't fix it, try each stick alone in a single slot to rule out a bad module before assuming the motherboard or CPU is at fault.
Choosing a RAM Kit
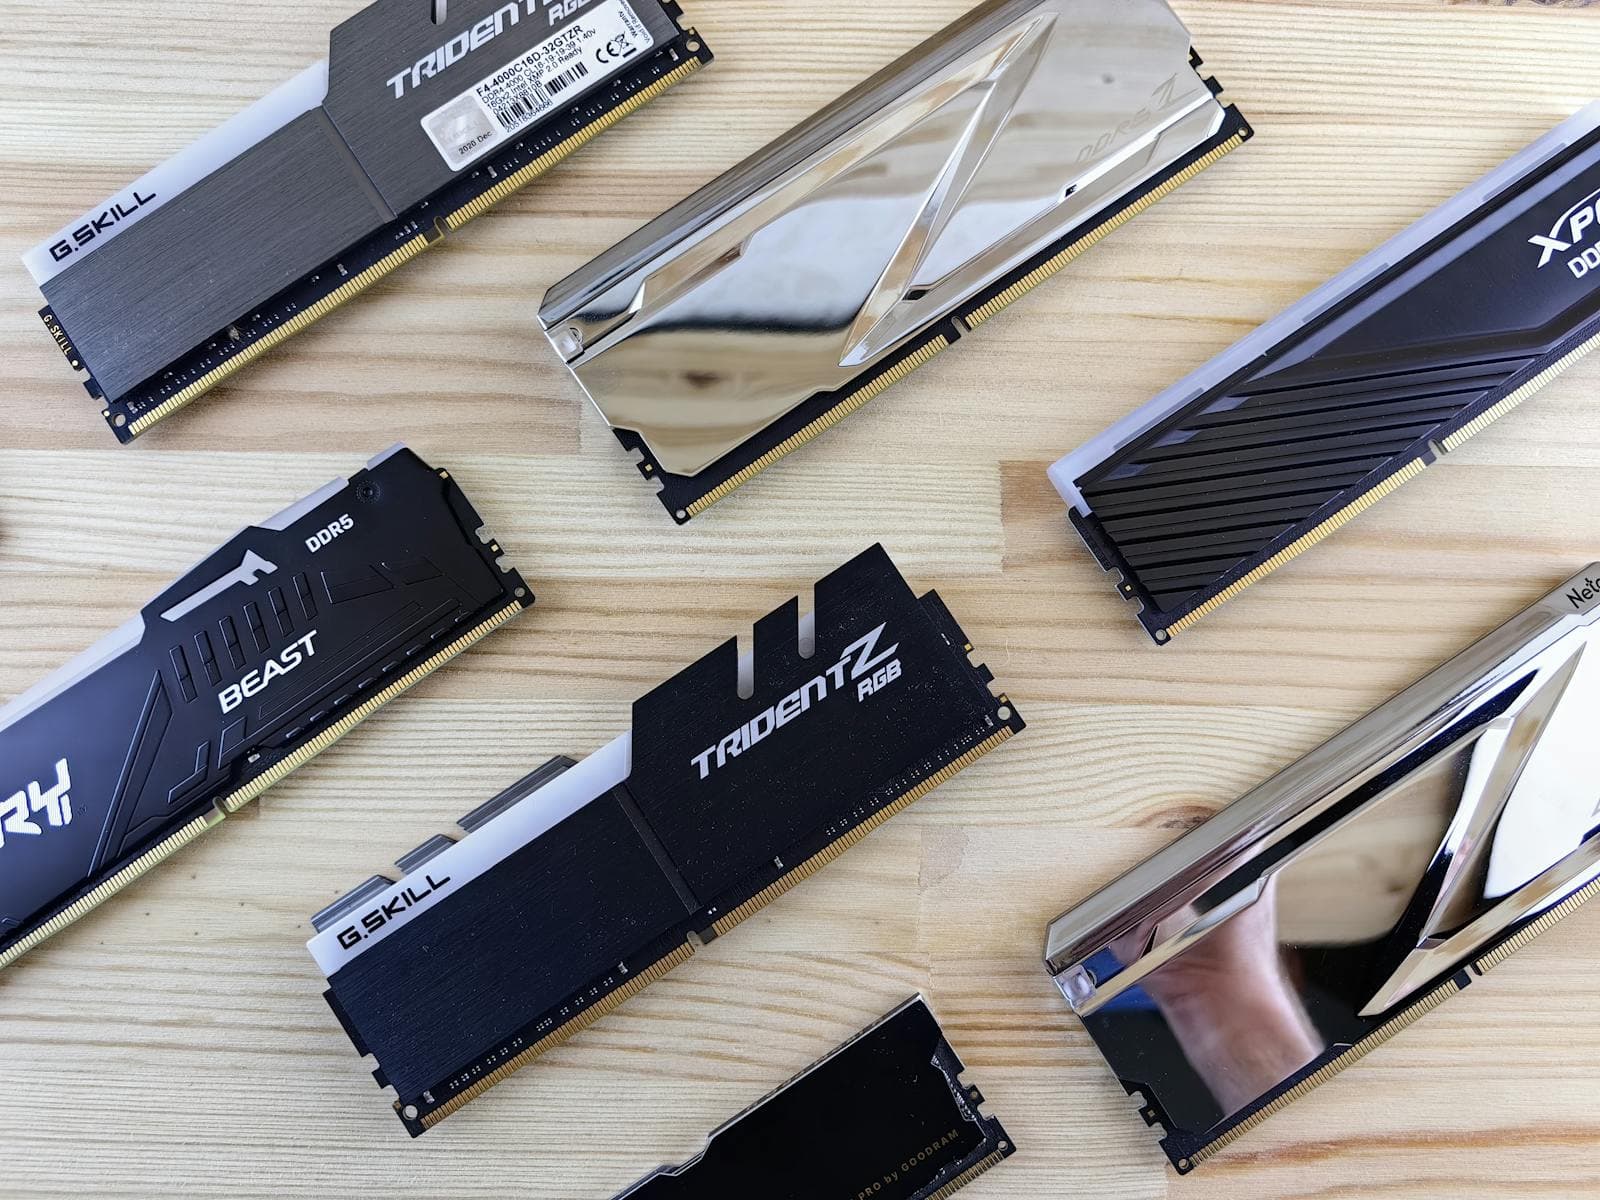
Capacity and speed matter more than brand for gaming. 32GB kits (2 x 16GB) are the current sweet spot for a build meant to last several years, and DDR5-6000 is the most common speed among current in-stock kits, more widely stocked right now than any other DDR5 speed tier. A 32GB DDR5-6000 kit like the Team Group T-Force Thor OC runs around $399 at major US retailers, though prices shift with the memory market.
If 32GB is outside your budget, a 16GB kit (2 x 8GB) like the Team Group T-Force Vulcan at DDR5-5200 starts around $240 and still covers current games without issue. Buying a single 8GB stick, around $150 for something like a Kingston Fury Beast, only makes sense as an add-on to an existing stick of the same speed and capacity, not as a starting point, since dual-channel needs a matched pair.
The best RAM for gaming guide breaks down current picks by budget, and the how much RAM do you need guide covers whether 16GB or 32GB fits your use case. If you'd rather skip the comparison shopping, the PC Builder already matches RAM capacity and speed to your motherboard and budget automatically.
Where RAM Installation Fits in the Full Build
RAM installation typically happens early in a build, right after the CPU and cooler go on the motherboard and before the board goes into the case, since the RAM slots are easier to reach outside the case than inside it. If you haven't installed your CPU yet, the how to install a CPU guide covers that step for AM4, AM5, LGA1700, and LGA1851 sockets.
For the full sequence from an empty case to a first boot, the how to build a gaming PC guide walks through every component in order, including where RAM installation happens relative to the motherboard and GPU. Once RAM and CPU are in, the how to install a GPU guide covers the next major step.
Frequently Asked Questions
How do I install RAM in my PC?
Power off the PC and unplug the PSU, open both retention clips on the correct pair of slots, align the notch on the stick's gold connector with the notch in the slot, and press straight down on both ends until the clips snap closed on their own. No tools are needed.
Which RAM slots should I use?
Check your motherboard manual or the labels printed on the board itself. With two sticks, almost every board wants them in the second and fourth slots counting from the CPU, usually labeled A2 and B2, not the two closest to the processor. Using the wrong pair still boots the PC, but runs in single-channel mode instead of dual-channel.
Do I need to enable XMP after installing RAM?
Yes, if you want the speed printed on the box. Without it, DDR5 RAM runs at a default 4800MHz regardless of what you paid for. Go into BIOS, find the memory or overclocking section, and enable XMP (Intel boards) or EXPO (AMD boards) with a single toggle.
Why isn't my PC detecting my new RAM?
Power down, unplug the PSU, and reseat each stick, making sure both retention clips click fully closed and the stick has no visible gap on either end. A stick that isn't fully seated is the most common cause of a PC that won't boot or shows the wrong capacity in BIOS. Confirm each stick is also in a slot the motherboard supports for its DDR generation and speed.
Can I mix different RAM sticks?
You can, but it's not worth doing on a new build. Mismatched speed, timings, or capacity between sticks forces the whole set to run at the slowest stick's speed, and some combinations refuse to run in dual-channel at all. Buy sticks as a matched kit designed to run together.
Do I need to remove old RAM before installing new sticks?
Only if you're replacing it rather than adding to it. Power down, unplug the PSU, push both retention clips outward until the stick pops up on its own, then lift it straight out. If you're just adding sticks to open slots alongside existing RAM, leave the installed sticks in place.