How to Install a GPU: Step-by-Step Graphics Card Installation
This guide contains affiliate links. If you buy through them, we may earn a commission at no extra cost to you.
Installing a GPU takes about ten minutes: open the PCIe slot's retention latch, align the card's gold connector with the slot, press straight down until it clicks, screw the bracket into the case, then plug in any required power cables. The card only fits one slot in one orientation, so there's no real way to get the physical installation wrong as long as you don't force it.
This guide covers the exact steps, which cards need a power cable and which don't, and the two things that cause almost every "installed it, no picture" problem.
Before You Touch the Case: Power Down and Find the Slot
Shut the PC down completely and unplug the power supply (PSU) from the wall, not just the switch on the back of the unit. The motherboard still carries a small standby current whenever the PSU is plugged in, and working inside the case with any power present is the one step in this whole process worth being strict about.
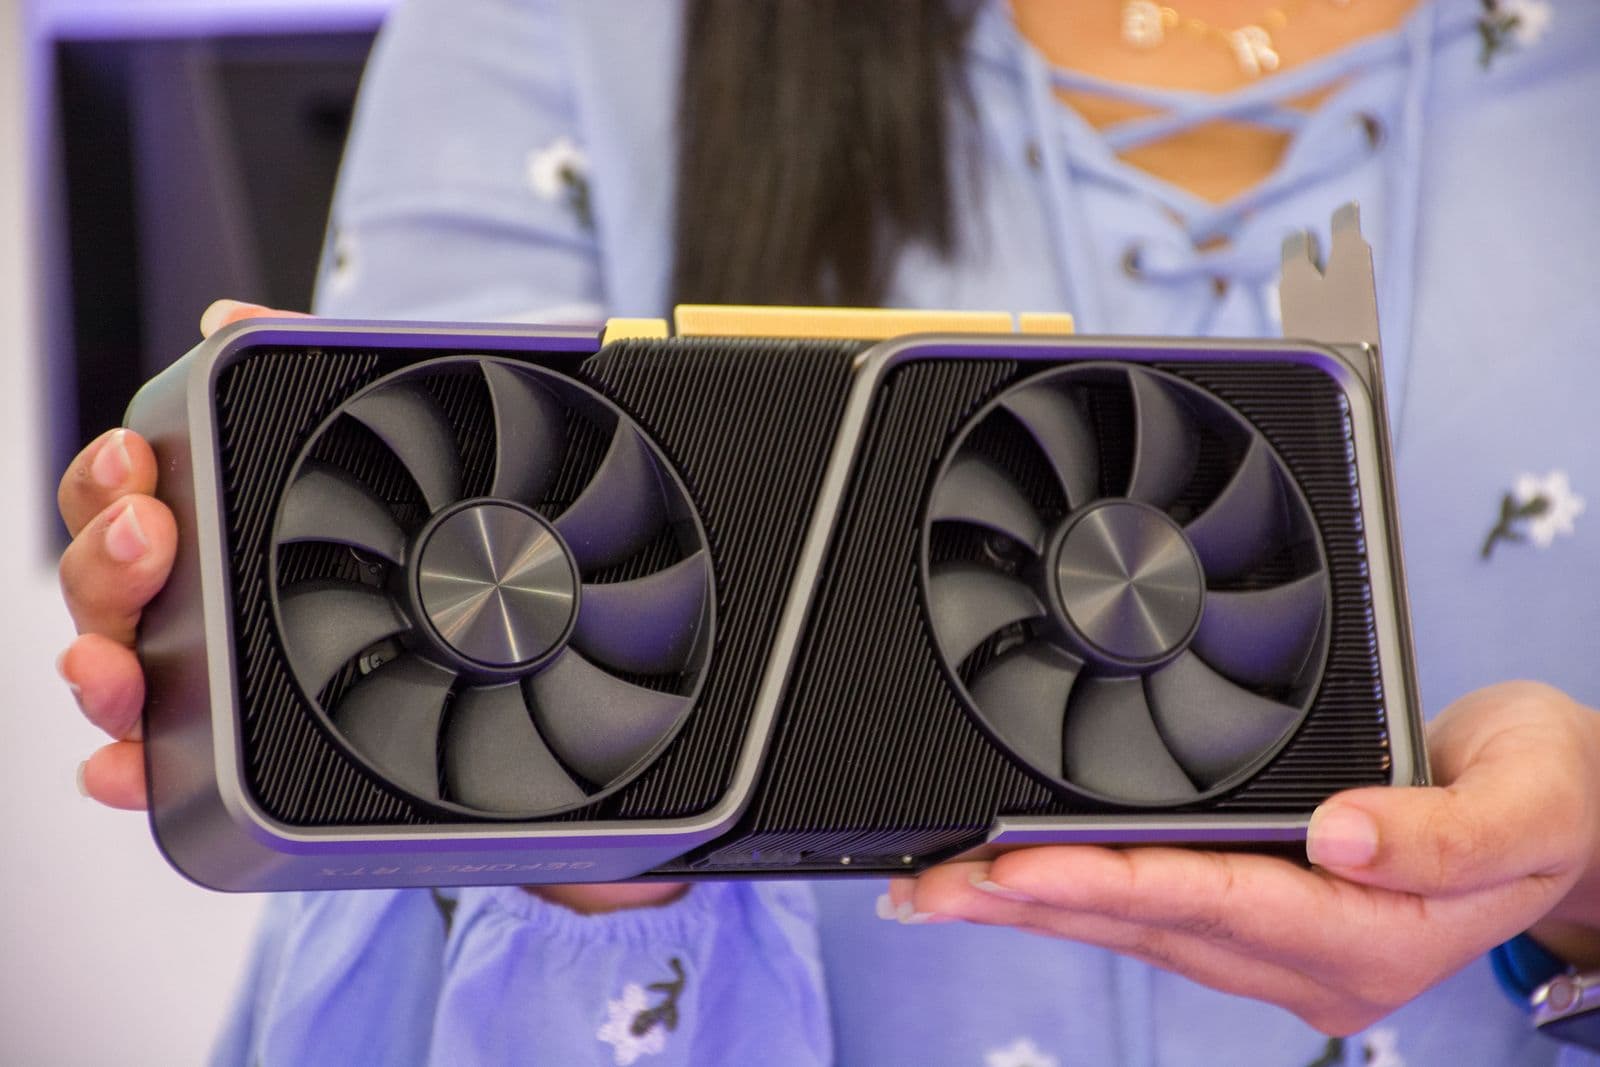
Open the side panel and find the PCIe x16 slot, the connector standard graphics cards use. It's the longest slot on the motherboard, usually the top one and the one closest to the CPU. On motherboards with more than one long slot, the top slot is almost always the one wired for full-speed GPU bandwidth. If you're not sure, check your motherboard's manual for the slot labeled "PCIe x16" nearest the top.
Remove the rear expansion slot covers on the back of the case that line up with the PCIe slot. Most modern graphics cards are two or three slots thick, so you'll typically pull out two or three thin metal covers, held in with a single screw each on most cases, or punch-out tabs on cheaper ones.
Seating the Card: The Steps That Actually Matter
- Open the PCIe slot's retention latch. It's the small plastic clip at the end of the slot closest to the edge of the motherboard. Push it open before you try to insert the card.
- Line up the card's gold connector with the slot, holding the card by its edges. The card only fits one way, so if it looks misaligned, it is.
- Press straight down with even pressure across the full length of the card, not at an angle and not on one end first. You'll feel it seat, and the retention latch should click closed on its own as the card reaches the bottom of the slot.
- Check that the latch clicked shut and the card sits flush, with the bracket lining up cleanly against the case's rear slot openings.
- Screw the bracket into the case through the slot covers you removed earlier. This is what actually holds the card's weight, since the PCIe slot alone isn't designed to support a card this heavy over time.
If the card doesn't seat with a firm, even push, stop and check the latch is fully open and the card is aligned squarely with the slot rather than tilted. A correctly aligned card seats with consistent resistance across its whole length, not a sudden hard stop at one corner. That uneven resistance is the sign to pull the card back out and recheck alignment, not to push harder.
Connecting the Power Cables
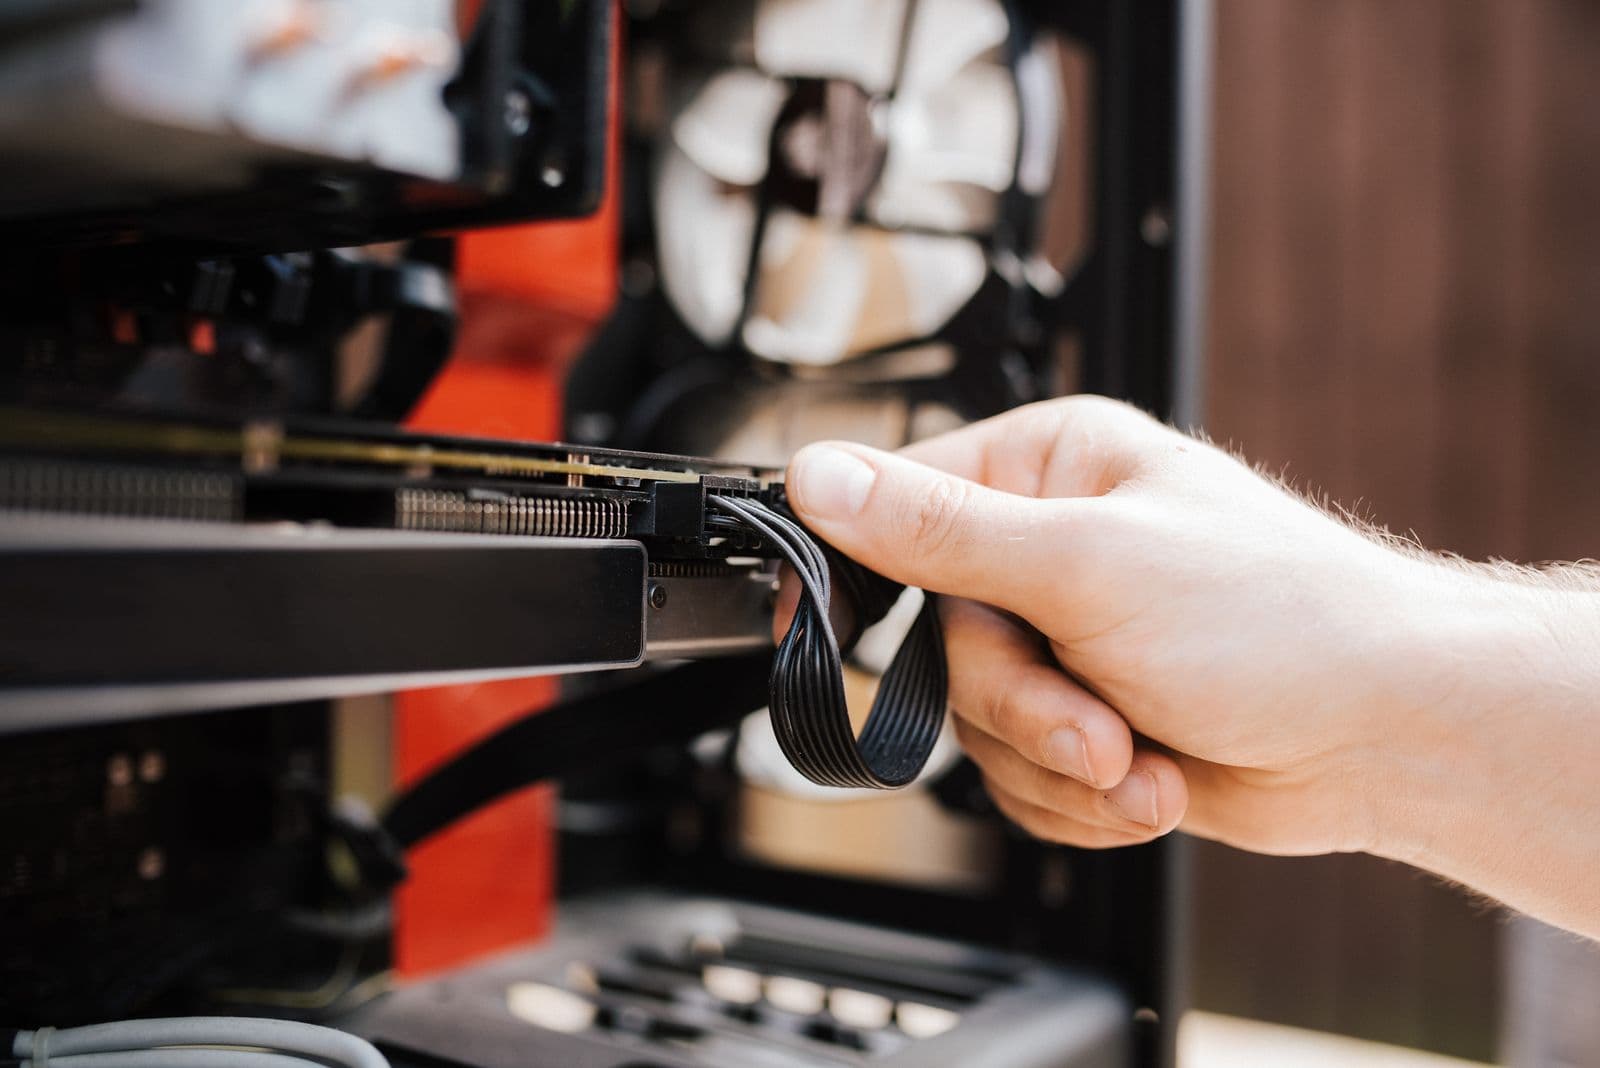
Whether you need a cable at all depends entirely on the card. Entry-level cards like the GeForce GT 1030 ($79 at launch, 30W) or the GTX 1650 family (75W) draw all their power from the PCIe slot itself and have no connector to plug in. If your card has no visible power port, you're already done once the bracket is screwed in.
Most current cards do need one. A single 8-pin connector is the most common setup across the market, covering budget-to-midrange cards like the Radeon RX 7600 (around $300 at major US retailers, 165W) and the GeForce RTX 5060 (around $340, 145W). Some older or lower-power cards use a single 6-pin instead, and dual-GPU-die cards or high-draw cards in the 300W-plus range often need two 8-pin connectors, as on the Radeon RX 7900 XTX (around $1,100, 355W).
At the high end, the newer 16-pin connector (also called 12VHPWR or 12V-2x6, depending on the exact revision) handles everything from the roughly 250W GeForce RTX 5070 up through flagship cards like the RTX 4090 and RTX 5090, which draw 450W and 575W respectively and currently sell well above their original launch prices in a tight GPU market. Whatever connector your card uses, plug it in until it clicks, the same positive click you feel from a seatbelt buckle. A cable that isn't fully seated is one of the most common causes of a card that powers on but won't display anything.
Use the cable that came with your PSU or a cable rated for your card's connector type. Stacking multiple cheap adapters to turn two 8-pins into a 16-pin, for example, is a shortcut worth avoiding on anything drawing real power, since a loose adapter under sustained load is a legitimate fire risk, not just a theoretical one.
If you're not sure your PSU has the right connector or enough spare wattage for the card you want, the TDP guide walks through matching a GPU's power draw to a PSU's rated wattage before you buy.
Confirming the Install Worked (and Fixing No-Display Issues)
Plug the monitor cable into a port on the graphics card itself, not the motherboard's video output. Any system with a discrete GPU installed still has that motherboard port physically present, and it's the single most common reason a new card appears to do nothing: the monitor is still plugged into the CPU's built-in graphics output instead of the new card.
If the monitor cable is in the right port and you still get no picture, power down, unplug the PSU, and check two things: that the card is seated flush with no visible gap at either end, and that the power cable clicked in fully rather than resting half-connected. Reseating the card and the cable resolves the overwhelming majority of "nothing happens" reports.
Once you get a picture, Windows will usually load a basic driver automatically. Install the current driver from Nvidia, AMD, or Intel directly afterward. The basic Windows driver runs the card but leaves real performance on the table until the manufacturer's driver is in.
Does Your GPU Fit Your Case?
A card that's too long for the case or too wide to clear your RAM and cooler is a compatibility problem worth catching before you're holding a screwdriver, not during installation. The GPU size and case clearance guide covers how to check a card's length against your case's spec sheet and what clearance actually means in practice.
If you'd rather skip measuring case dimensions and cross-checking PSU wattage yourself, the PC Builder already accounts for both when it puts a parts list together at your budget, so any GPU it recommends is guaranteed to fit and to have a matched power supply behind it.
Where GPU Installation Fits in the Full Build
GPU installation is typically one of the last steps in a build, after the CPU, RAM, motherboard, and PSU are already in the case. If you haven't installed your CPU yet, the how to install a CPU guide covers that earlier step for AM4, AM5, LGA1700, and LGA1851 sockets.
For the full sequence from an empty case to a first boot, the how to build a gaming PC guide walks through every component in order, including where GPU installation happens relative to cable management and closing up the case.
Frequently Asked Questions
How do I install my GPU?
Power off the PC and unplug the PSU, open the retention latch on the top PCIe x16 slot, align the card's gold connector with the slot, and press straight down until it clicks into place. Screw the bracket into the case, then connect any required power cables from the PSU directly to the card.
Can I just plug a new GPU into my PC?
Yes, as long as the card physically fits your case and your PSU has the right power connectors and enough spare wattage. There's no configuration step before the physical install. Windows detects the new card automatically, though you'll want to install the latest driver from Nvidia, AMD, or Intel afterward for full performance.
Can I add a GPU to my computer?
Any desktop motherboard with a PCIe x16 slot can take a graphics card, including systems that previously ran on the CPU's built-in graphics. Confirm your PSU has a free 6-pin, 8-pin, or 16-pin power connector (or the wattage headroom for one) before you buy, since that's the most common reason an otherwise-compatible upgrade stalls.
Can I just swap out a graphics card?
Yes. Shut down the PC, unplug it, remove the old card by releasing the PCIe latch and unscrewing its bracket, then install the new one in the same slot. You don't need to uninstall the old drivers first in most cases, though a clean driver reset avoids conflicts if you're switching between Nvidia and AMD.
Do I need to remove the old GPU first when upgrading?
Yes. Unplug any power cables from it, release the PCIe slot's retention latch, unscrew its bracket from the case, and lift it straight out before seating the replacement in the same slot.
Why won't my PC display anything after installing a new GPU?
Check that your monitor cable is plugged into the graphics card's outputs, not the motherboard's video output, since those are two separate ports on any system with a discrete GPU. Then confirm the power cable is fully clicked in and the card is seated flush in the slot with no visible gap at either end.