How to Install a CPU: AM4, AM5, LGA1700 & LGA1851
This guide contains affiliate links. If you buy through them, we may earn a commission at no extra cost to you.
Installing a CPU takes about five minutes once you know your socket type, and it requires zero force at any step. Open the socket lever, align the CPU using the triangle or notch markers, let it drop flat under its own weight, then close the lever. The process differs slightly between AMD's older pin-based AM4 socket and the newer AM5, LGA1700, and LGA1851 sockets, but none of them should ever need you to push down on the chip.
This guide covers the exact steps for each socket, which CPUs come with a cooler already in the box, and the specific mistakes that bend pins and turn a five-minute job into a motherboard replacement.
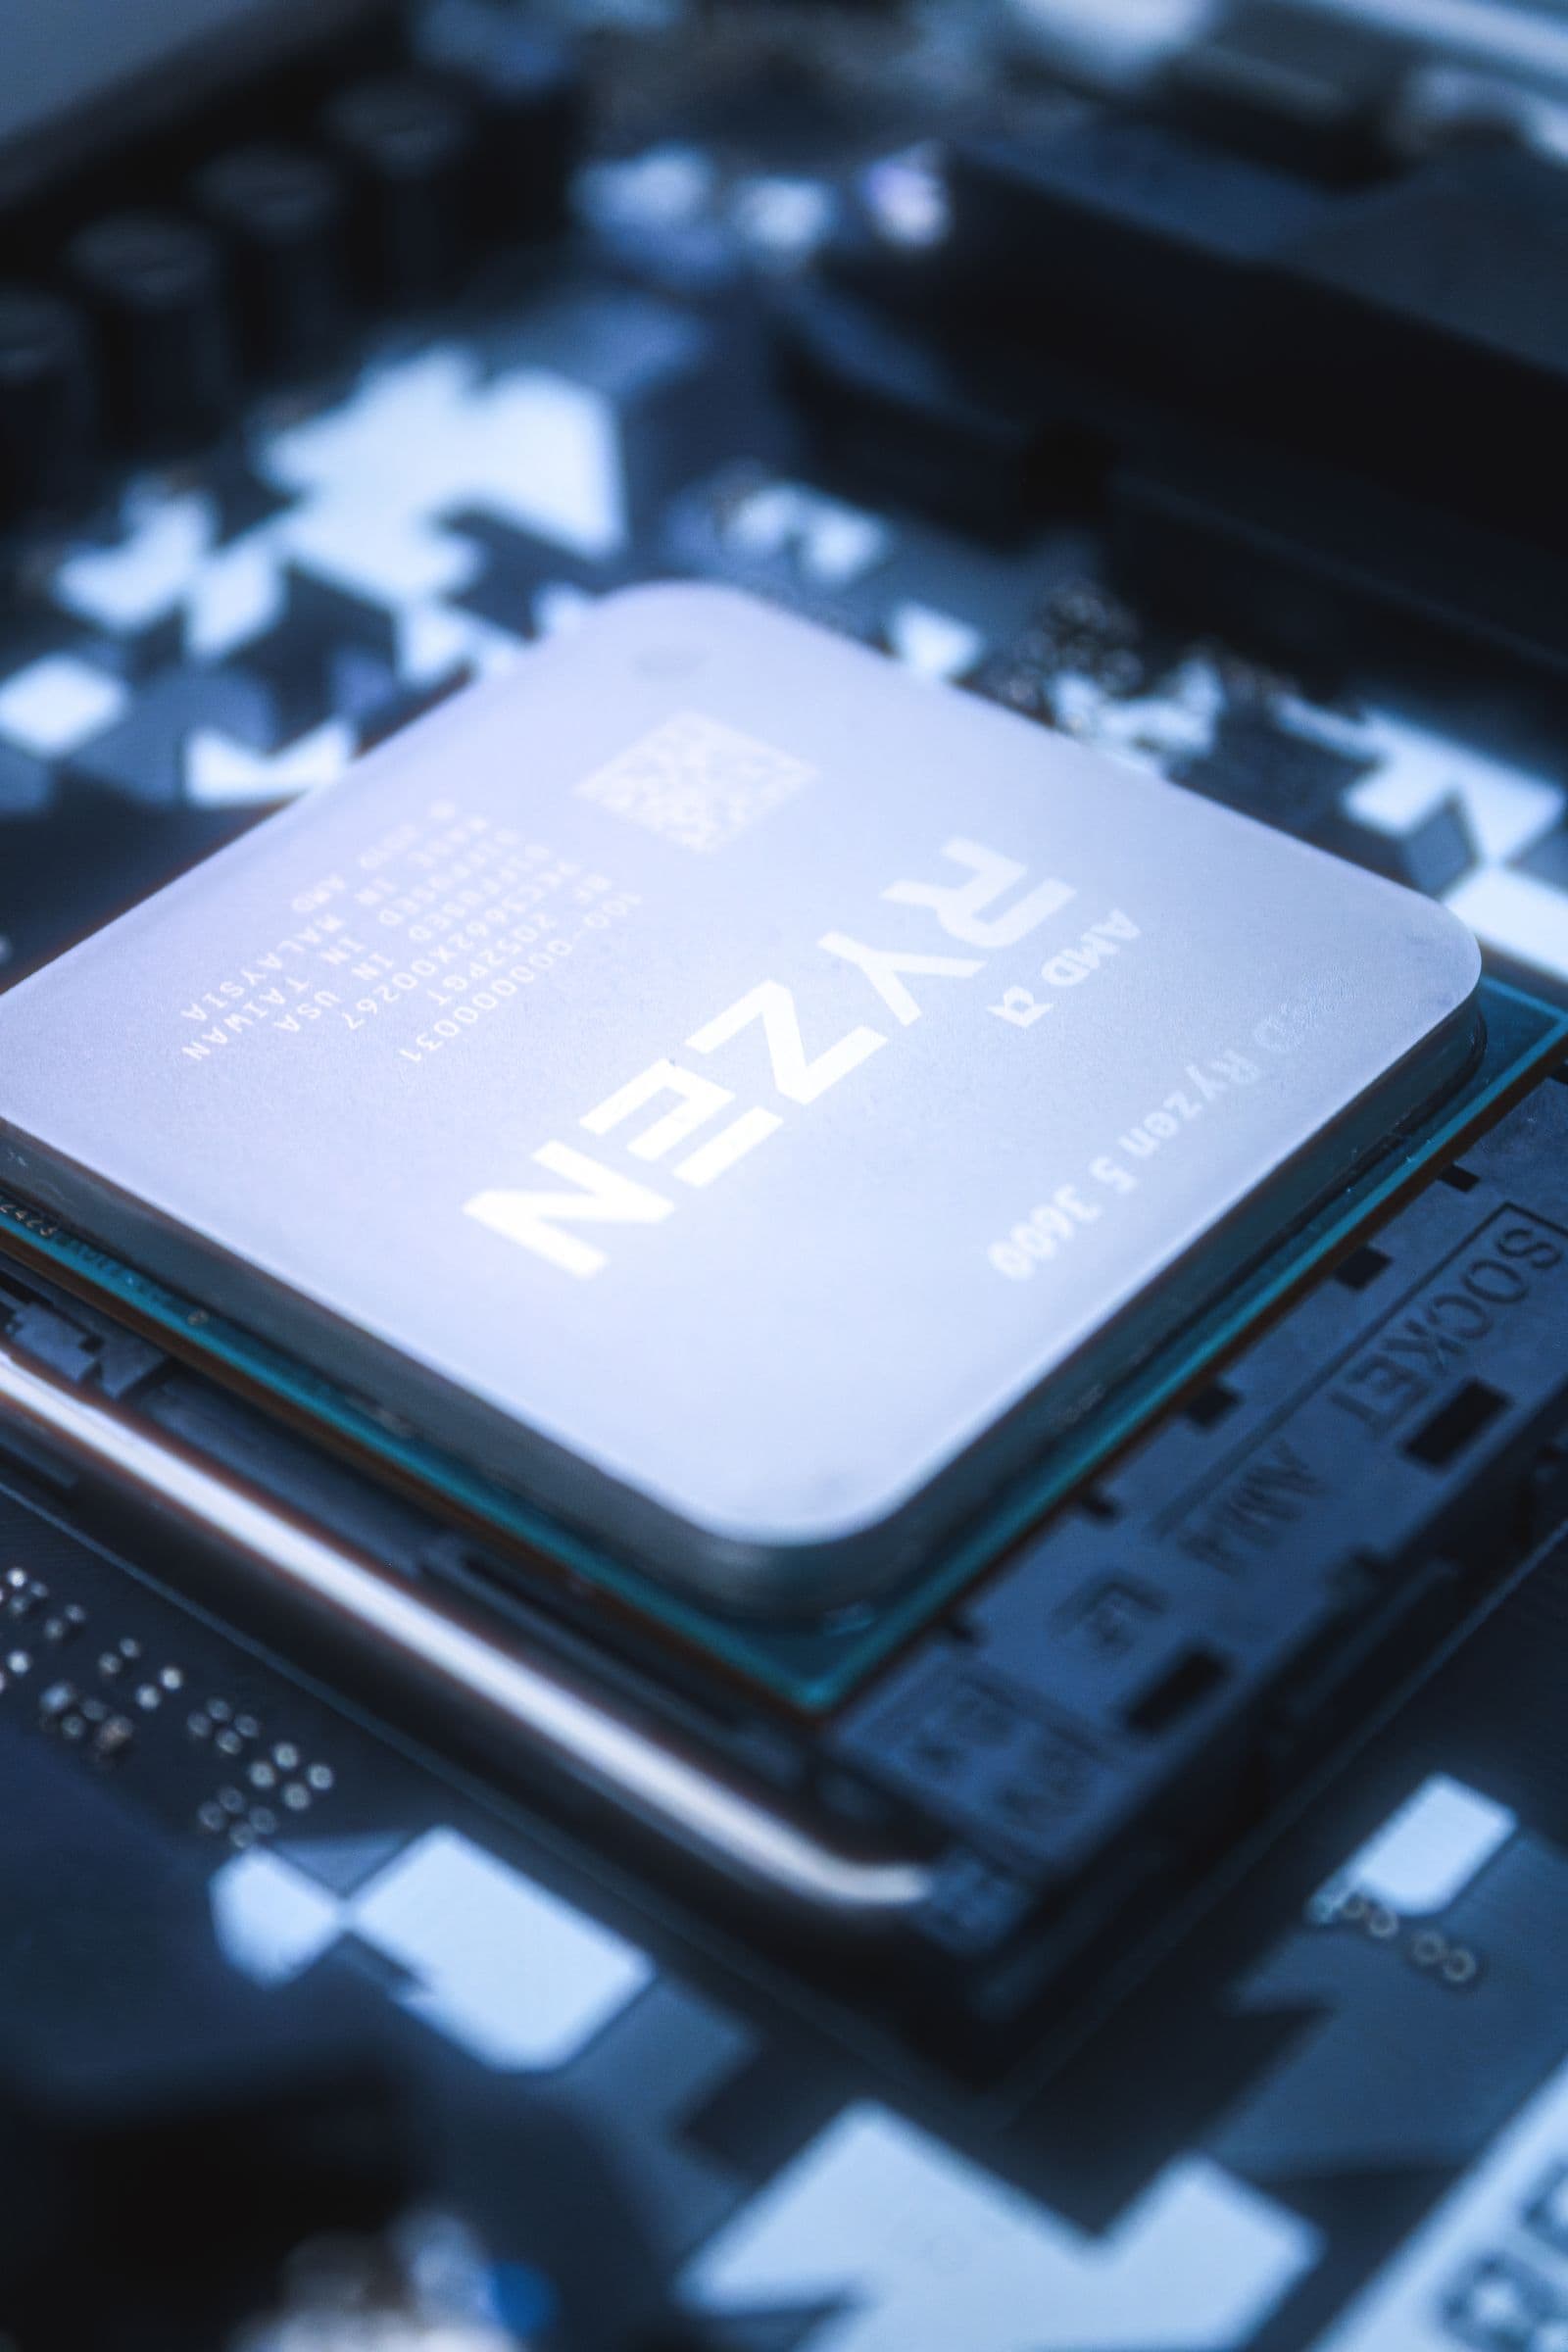
What Socket Does Your CPU Use?
Before touching anything, confirm which socket your CPU and motherboard share. The physical installation steps are different enough between socket types that using the wrong instructions is how pins get bent.
| Socket | Platform | Pin location | CPU generation |
|---|---|---|---|
| AM4 | AMD | On the CPU (PGA) | Ryzen 1000–5000 series |
| AM5 | AMD | On the motherboard (LGA) | Ryzen 7000–9000 series |
| LGA1700 | Intel | On the motherboard (LGA) | Core 12th–14th gen |
| LGA1851 | Intel | On the motherboard (LGA) | Core Ultra 200S series |
The distinction between PGA and LGA matters more than the socket name. PGA (pin grid array) means the pins are the small metal spikes on the underside of the CPU itself, exposed and vulnerable the moment you pick the chip up. LGA (land grid array) means the pins live inside the motherboard socket, and the CPU has flat gold contact pads instead. If you're installing an older Ryzen chip, treat the CPU itself as the fragile part. On every current platform, the socket is the fragile part and the CPU is nearly indestructible by comparison.
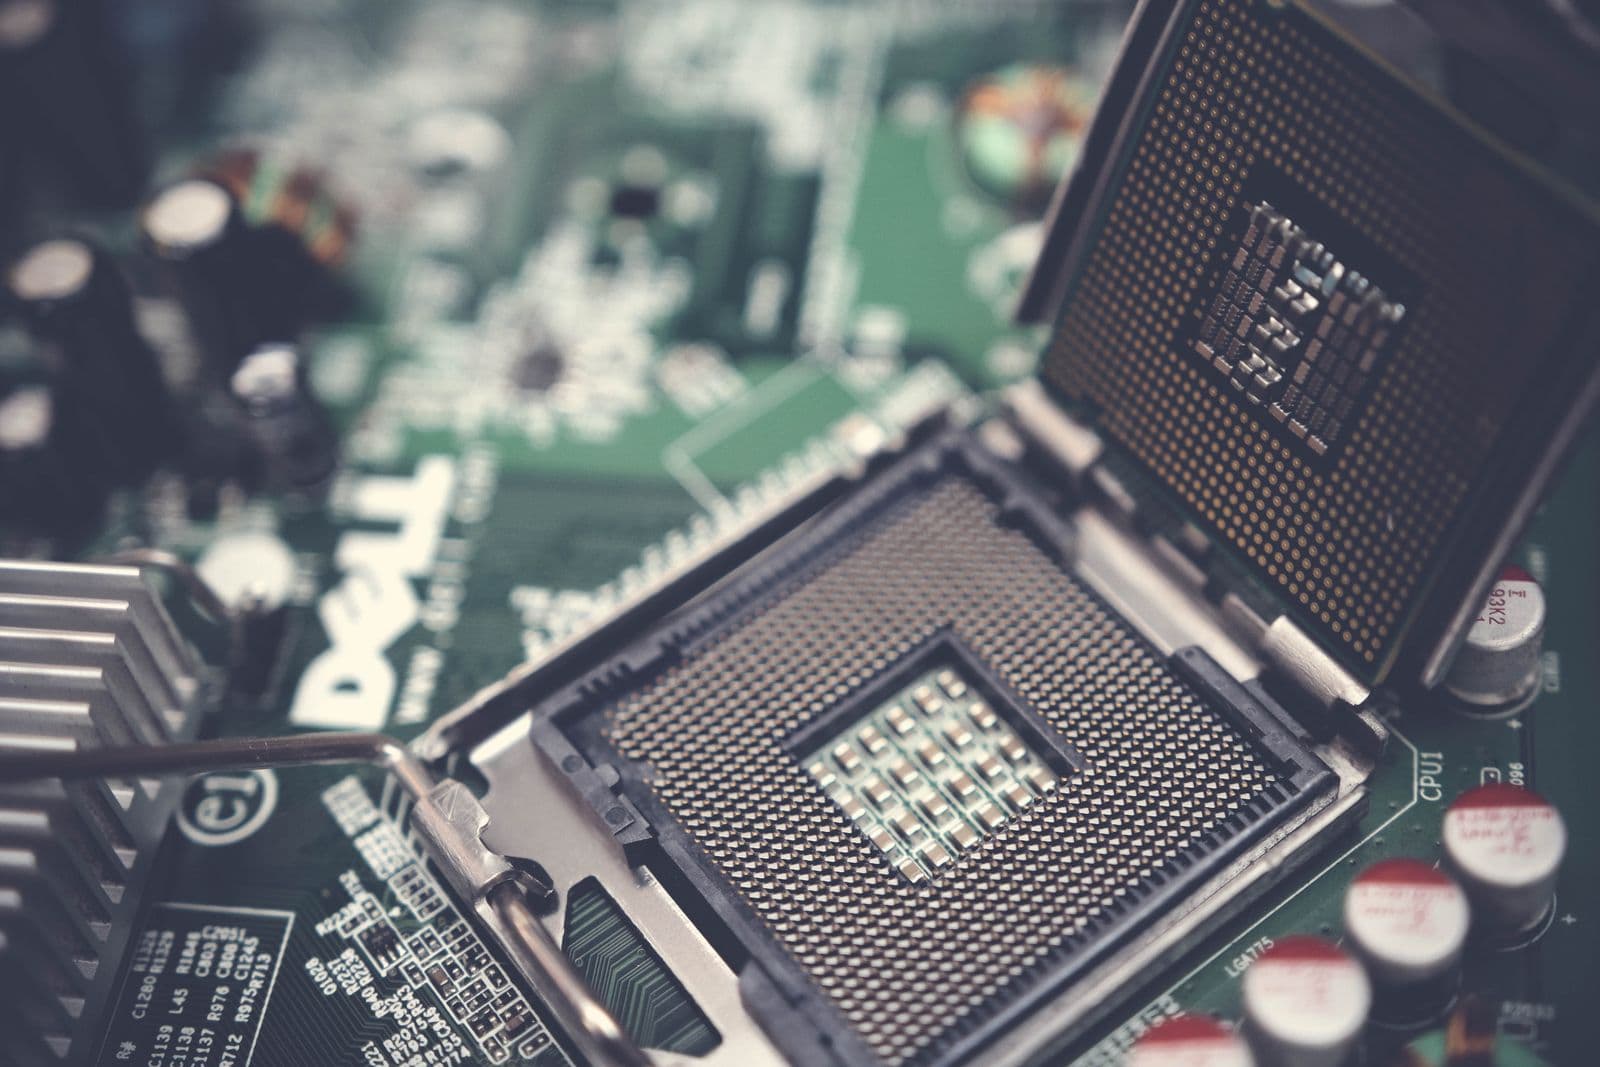
Installing an AMD Ryzen CPU on AM4 (Pin-Grid Array)
AM4 carries the highest risk of bent pins of any current or recent socket, because the 1,331 pins are on the underside of the CPU and fully exposed until the moment it's seated.
- Open the socket lever. Push it out to the side and lift it to a full vertical position. The socket holes are now visible and empty.
- Find the alignment triangle. Look for a small gold triangle printed in one corner of the CPU, and a matching triangle marking on one corner of the socket.
- Line up the triangles and lower the CPU straight down. Hold the CPU by its edges only, never touch the pins on the underside. With the triangles matched, the CPU drops into the socket with no resistance at all.
- If it doesn't drop in freely, stop. Lift the CPU straight back out, recheck the triangle orientation, and try again. Do not press, wiggle, or apply any downward force to seat it.
- Close the lever. Push it back down until it clicks under the retention tab. This applies even, correct pressure across all 1,331 pins.
The entire point of a zero-insertion-force socket is that force is never required. If you feel resistance at any point before closing the lever, the CPU is misaligned, not stuck.
Installing an AMD Ryzen CPU on AM5 (Land-Grid Array)
AM5 moved AMD's pins from the CPU to the motherboard, matching the layout Intel has used for years. The chip itself is now much harder to damage. The socket mechanism, however, needs noticeably more force to close than AM4 ever did.
- Lift the retention lever and swing open the load plate. The socket's 1,718 pins are now visible and exposed. Avoid touching them.
- Match the CPU's triangle marker to the socket's corner marker. The CPU has gold contact pads on the underside instead of pins.
- Lower the CPU flat into the socket with no lateral movement. It should settle into place under its own weight, the same as AM4.
- Close the load plate and press the lever down firmly until it locks under the retention tab. This step takes real, deliberate pressure, more than AM4 ever required. A creak or a light popping sound as the lever seats is the metal lever flexing against the load plate, not the CPU being crushed.
The firmness required here surprises a lot of first-time AM5 builders coming from an older AM4 build, where the lever closes with almost no resistance. That difference is expected and doesn't indicate anything is wrong, as long as the CPU was sitting flat before you closed it.
Installing an Intel CPU on LGA1700 or LGA1851
Intel's socket design has stayed conceptually similar across LGA1700 (12th to 14th gen Core) and the newer LGA1851 (Core Ultra 200S). Both use a hinged load plate and a retention arm instead of AMD's simple lever.
- Release the retention arm from its hook and lift it, which raises the metal load plate off the socket.
- Locate the two small notches on the sides of the CPU. They line up with two raised guide posts inside the socket, and the CPU only fits one way. There's also a small gold triangle in one corner as a secondary reference.
- Lower the CPU into the socket using the notches as your guide, then close the load plate down over it.
- Tuck the retention arm back under its retaining hook. This is the step that takes real pressure, and you may hear a creak as the arm locks down. That's normal.
- The black plastic socket cover pops off on its own once the retention arm is fully locked. Save it. You'll need it if you ever return the motherboard or send it in for warranty service.
The socket's 1,700 or 1,851 pins (matching the socket name) are extremely thin and packed tightly together. Never touch them with a finger, a tool, or compressed air at close range. If you need to clean dust out of an empty socket, a distant blast of canned air is safer than reaching in.
Does Your CPU Come With a Cooler in the Box?
Whether you need to budget for a separate CPU cooler depends entirely on which specific chip you're buying, and the pattern is consistent enough to plan around before you buy anything.
Non-overclockable CPUs almost always include a stock cooler. On AMD's AM5 platform, a Ryzen 5 7600 (no X suffix, around $210) ships with AMD's Wraith Stealth cooler in the box, and it's sufficient for stock-speed gaming. On Intel's side, a Core i5-14400F (around $200) ships with Intel's Laminar RM1 cooler. Neither of these coolers is going to win any thermal benchmark, but they'll run the CPU safely at its rated speeds without an extra purchase.
Overclockable CPUs almost always ship without one. AMD's X-suffix chips, like the Ryzen 5 7600X (around $166, no cooler included), and Intel's K-suffix chips, like the Core Ultra 5 245K (roughly $180 to $230 depending on retailer) and the Core Ultra 9 285K ($509 to $619), are aimed at buyers who plan to overclock or push higher sustained boost clocks. Those buyers typically want a cooler with more headroom than a stock unit provides, so the manufacturers stopped including one.
The pattern holds across both companies: no suffix (AMD) or no "K" (Intel) usually means a cooler is in the box. An "X" (AMD) or "K" (Intel) usually means it isn't. Check the specific listing before you buy; it's the fastest way to find out whether "$180 CPU" actually means "$180 CPU" or "$180 CPU plus a $30-plus cooler you didn't budget for." If you'd rather skip this kind of line-by-line spec checking, the PC Builder accounts for cooler inclusion automatically when it puts together a parts list at your budget.
If your CPU didn't come with a cooler, or you want better thermals and quieter fan noise than a stock unit delivers, the best CPU cooler guide for 2026 ranks options from budget air coolers to 360mm AIO liquid coolers.
The Mistakes That Actually Bend Pins or Break a Build
Most CPU installation failures trace back to one of four specific errors, and every one of them is avoidable in the moment it happens.
Forcing a misaligned CPU into the socket. This is the single biggest cause of bent pins on every socket type. A correctly aligned CPU never needs to be pushed. If you feel any resistance while lowering it in, stop, lift the CPU straight back out, and recheck the alignment marker before trying again.
Touching the pins or contact pads directly. Skin oils and static can affect the contact surface, and on LGA sockets the pins themselves are fragile enough to bend from light finger pressure. Hold the CPU by its edges only.
Not fully closing the retention lever or arm. A CPU that looks seated but has a lever left half-closed won't make consistent contact with every pin, which shows up as a system that won't POST or crashes randomly under load. Push AM5 and Intel levers down until you feel and hear them lock, even though it takes more force than you'd expect.
Spreading thermal paste manually instead of letting the cooler do it. This isn't a CPU installation mistake exactly, but it happens in the same five-minute window. A pea-sized dot in the center of the CPU's metal top spreads correctly under the cooler's mounting pressure. Smearing it by hand first usually introduces air bubbles that hurt cooling performance.
For the complete list of mistakes that show up across an entire build, not just CPU installation, see the common PC building mistakes guide.
Where CPU Installation Fits in the Full Build
CPU installation is step two of a full build, right after unboxing your motherboard and before mounting a cooler, RAM, or storage. The graphics card goes in near the end, once everything else is seated; the how to install a GPU guide covers that later step, including which cards need a power cable and the most common no-display fix. If you're building a complete system and want the installation sequence for every other component, the how to build a gaming PC guide walks through the entire process from first component to first boot.
If you haven't picked a CPU yet, matching it correctly to a GPU and a budget is its own decision. The PC Builder generates a complete, compatible parts list, including a correctly matched cooler, based on your budget alone, so the socket and cooler questions in this guide are already answered before you start.
Frequently Asked Questions
Do I need to apply thermal paste when installing a CPU?
Not for the CPU itself. Thermal paste goes on top of the CPU before the cooler is mounted, not during CPU installation. If your cooler is a stock cooler, it usually ships with paste pre-applied to the base.
Why won't my AM5 or LGA1700 CPU drop into the socket?
It shouldn't need to be forced. Check the alignment triangle (AMD) or guide notches (Intel) again. A correctly aligned CPU sits flat under its own weight. Pushing down on a misaligned CPU is the single most common cause of bent socket pins.
Is it normal for the CPU socket lever to creak when I close it?
Yes, on AM5 and Intel LGA1700/LGA1851. Both sockets use a spring-loaded retention mechanism that needs firm pressure to close, and a creak or pop is the lever compressing against the frame, not the CPU being damaged.
Does my CPU come with a cooler?
It depends on the suffix. Non-X AMD Ryzen CPUs and non-K Intel Core CPUs almost always include a stock cooler. X-suffix AMD chips and K-suffix Intel chips are sold without one, since they're aimed at overclockers who typically buy aftermarket cooling anyway.
What do I do if I bend a CPU socket pin?
Stop and don't force the CPU in. A small number of bent pins can sometimes be straightened with a mechanical pencil (no lead) and a magnifying glass, but severely bent or broken pins usually mean replacing the motherboard, since the pins are part of the socket on AM5 and Intel boards.