How to Apply Thermal Paste: Step-by-Step Guide
This guide contains affiliate links. If you buy through them, we may earn a commission at no extra cost to you.
Place a pea-sized dot of paste in the center of the CPU, or a short line for a rectangular Intel chip, then lower the cooler straight down and let its mounting pressure spread it. Don't spread it by hand first. Use a dot for square integrated heat spreaders (AMD AM4 and AM5) and a line for rectangular ones (Intel LGA1700 and LGA1851). If you're replacing a cooler that's already been used, clean the old paste off with 90%+ isopropyl alcohol before you start.
That's the entire job. The part that trips people up isn't the paste itself, it's using too much, using the wrong pattern for the CPU's shape, or forgetting to remove a protective film that ships on some coolers. This guide covers the exact steps, how much paste is actually enough, and when it's time to redo it.
What You Need Before You Start
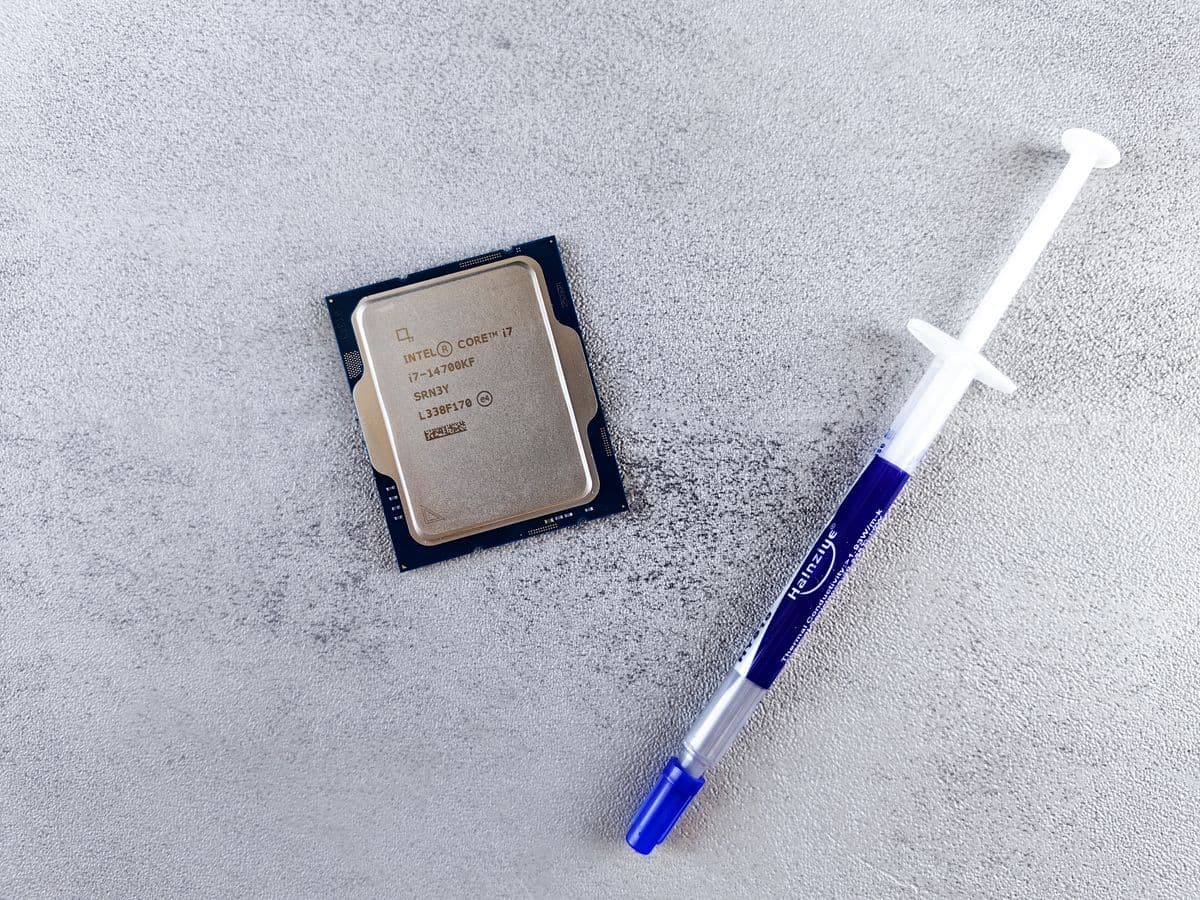
For a first-time application on a new CPU, you need one thing: the thermal paste (plus the cooler you're mounting). The alcohol and lint-free cloth people associate with thermal paste only come into play when you're removing a cooler that already has old paste on it, which is the optional step in the next section. If this is a fresh build, you can skip that entirely.
If your cooler is new and came with paste pre-applied as a dot or stripe on its base, you can skip buying a separate tube for a first build. Most stock coolers, and many aftermarket ones, ship this way. Check the base before you assume you need to buy anything.
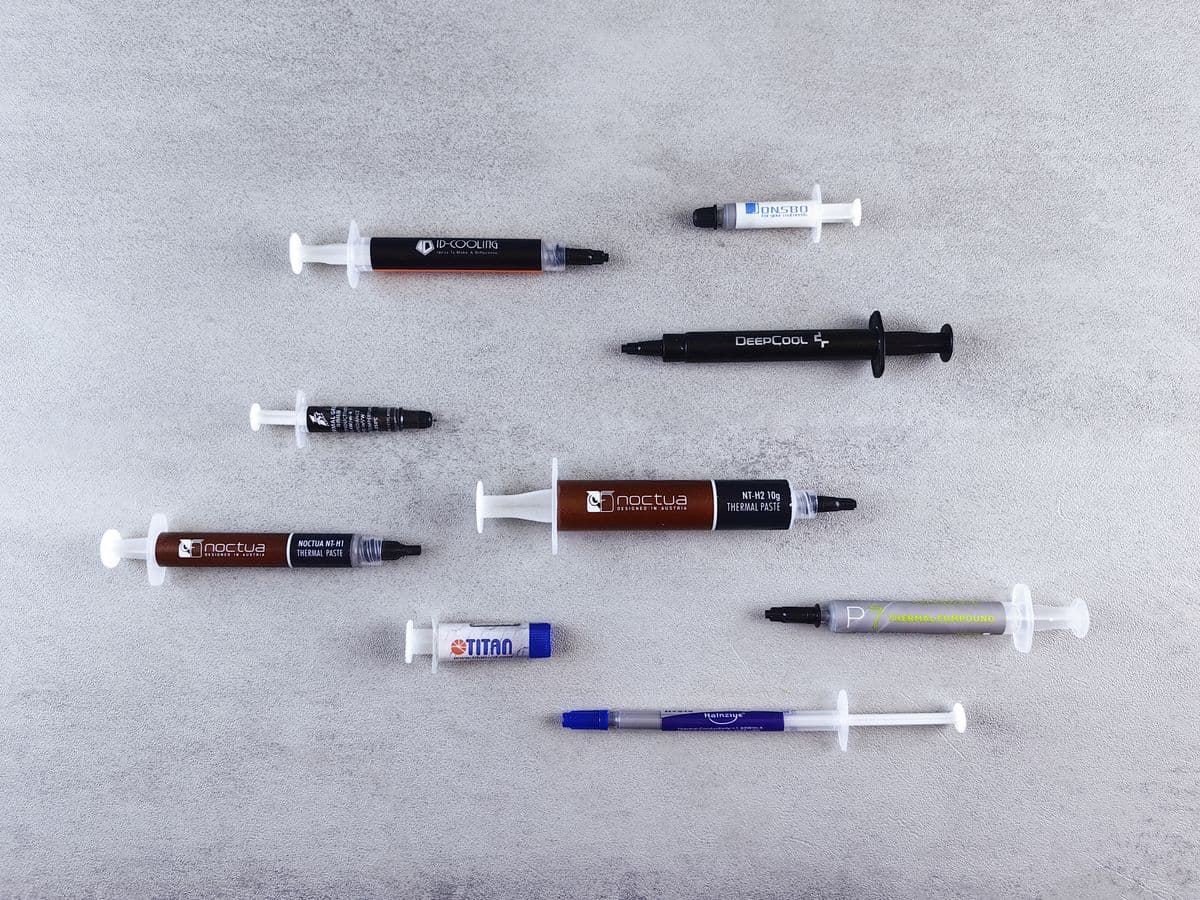
If you're buying your own, a quality syringe of paste runs somewhere in the $5 to $15 range at most retailers, and a single tube lasts through several applications since each job only needs a few millimeters of paste. Higher-priced pastes exist, but for a typical air cooler or all-in-one (AIO) liquid cooler on a gaming build, a mid-range non-conductive paste performs within a degree or two of far more expensive options.
Removing Old Paste First (Skip for a New Build)
Skip this section entirely if you're mounting a cooler for the first time on a brand-new CPU with pre-applied paste. It only applies when you're removing a cooler that's already been seated, whether that's a reused cooler or a CPU you're reseating after a failed mount. For this you'll need 90%+ isopropyl alcohol and a lint-free cloth or coffee filter (paper towels work but can leave fibers behind).
- Power down and unplug the PC, then remove the cooler from the CPU.
- Wipe off the bulk of the old paste with a dry paper towel or coffee filter first. This clears most of the material before alcohol gets involved.
- Dampen your lint-free cloth with 90%+ isopropyl alcohol and wipe both the CPU's integrated heat spreader (the flat metal lid on top of the chip) and the cooler's contact base until no residue or streaks remain.
- Let both surfaces air-dry for about a minute before applying fresh paste. Alcohol evaporates fast, but a few seconds of extra patience avoids diluting the new paste on contact.
Old paste that's been in place for years can dry into a crumbly or slightly gritty texture rather than a smooth layer. That's expected. A second pass with the alcohol-dampened cloth clears it the same way.
How Much Paste to Use and Which Pattern
A grain of rice to a pea-sized dot, roughly 3 to 5mm across, covers any current desktop CPU. The cooler's mounting pressure does the spreading, flattening that dot into a thin, even film across the full contact surface as the screws or bracket tighten down. More paste doesn't improve cooling: once the gap between the CPU and cooler is filled, the excess just squeezes out around the edges and pools near the socket, which is messy rather than helpful. Large HEDT or workstation CPUs have more surface area to cover, so they take a slightly bigger dot or an X pattern, but a standard desktop chip never needs more than a pea.
Where that dot goes, and whether it should be a dot at all, depends on the shape of your CPU's integrated heat spreader (IHS), the flat metal lid that sits on top of the chip and contacts the cooler.
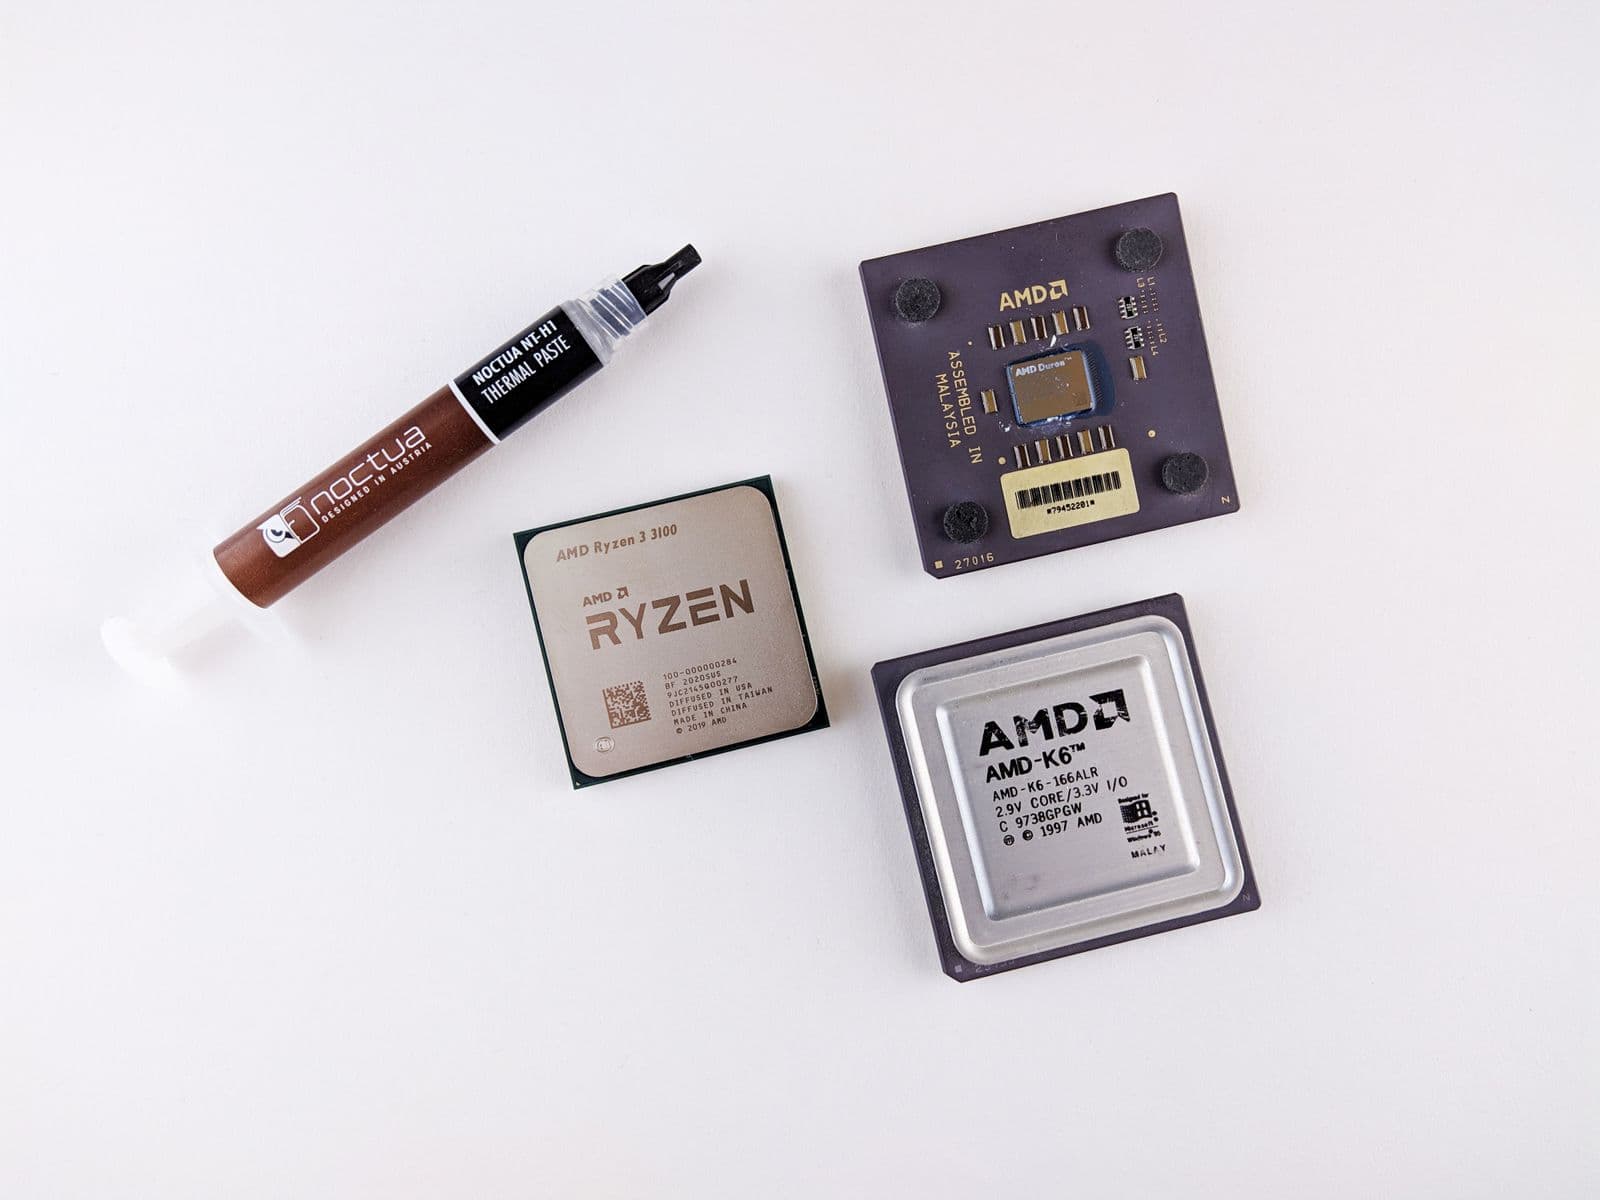
Use a center dot for square IHS shapes. AMD's AM4 and AM5 platforms both use a roughly square IHS. A single dot placed dead center spreads evenly to all four corners under mounting pressure, since every edge is close to the same distance from the middle.
Use a line for rectangular IHS shapes. Intel's LGA1700 and LGA1851 CPUs have a noticeably rectangular IHS. A center dot on a shape like this can leave the two short ends thin on coverage. A steady line of paste run down the middle, from one short edge toward the other, covers the full rectangle more reliably.
The X pattern is a fine alternative for square CPUs. Some builders prefer it because it front-loads paste toward all four corners instead of relying entirely on outward spread from the center. It uses slightly more paste than a single dot and isn't necessary, but it isn't wrong either.
| Pattern | Best for | Air pocket risk |
|---|---|---|
| Center dot | Square IHS (AM4, AM5) | Low, as long as the dot is centered |
| Line down the middle | Rectangular IHS (LGA1700, LGA1851) | Low; covers both short edges better than a dot |
| X pattern | Square IHS, as an alternative to a dot | Low, slightly more paste used than a dot |
| Manual spreading with a finger or card | Not recommended for any CPU | Higher; tends to trap microscopic air bubbles |
None of these patterns are fragile. The mounting pressure from any modern cooler corrects a slightly off-center dot or a line that isn't perfectly straight, so precision matters far less than people expect. The one thing that reliably goes wrong is skipping the spread step and smearing the paste on by hand, which traps the air pockets that cooler-driven pressure would otherwise push out.
Step-by-Step: Applying the Paste and Mounting the Cooler
- Confirm the CPU is already installed and seated correctly. If it isn't yet, the how to install a CPU guide covers AM4, AM5, LGA1700, and LGA1851 socket installation before this step.
- Apply the paste using the pattern that matches your CPU's shape: a dot for AM4/AM5, a line for LGA1700/LGA1851.
- Lower the cooler straight down onto the CPU. Don't slide or twist it once it makes contact. Sliding a cooler across wet paste after the initial placement is one of the more common ways to introduce uneven coverage or air pockets.
- Tighten the mounting screws or bracket in a diagonal or cross pattern, similar to how you'd tighten lug nuts on a wheel: top-left, then bottom-right, then top-right, then bottom-left, tightening each a little at a time rather than fully securing one side before moving to the next.
- Stop once the screws are snug against spring-loaded standoffs, or the bracket clicks into place, depending on your cooler's design. Most air and AIO coolers use spring-loaded screws specifically so you can't overtighten past the intended pressure.
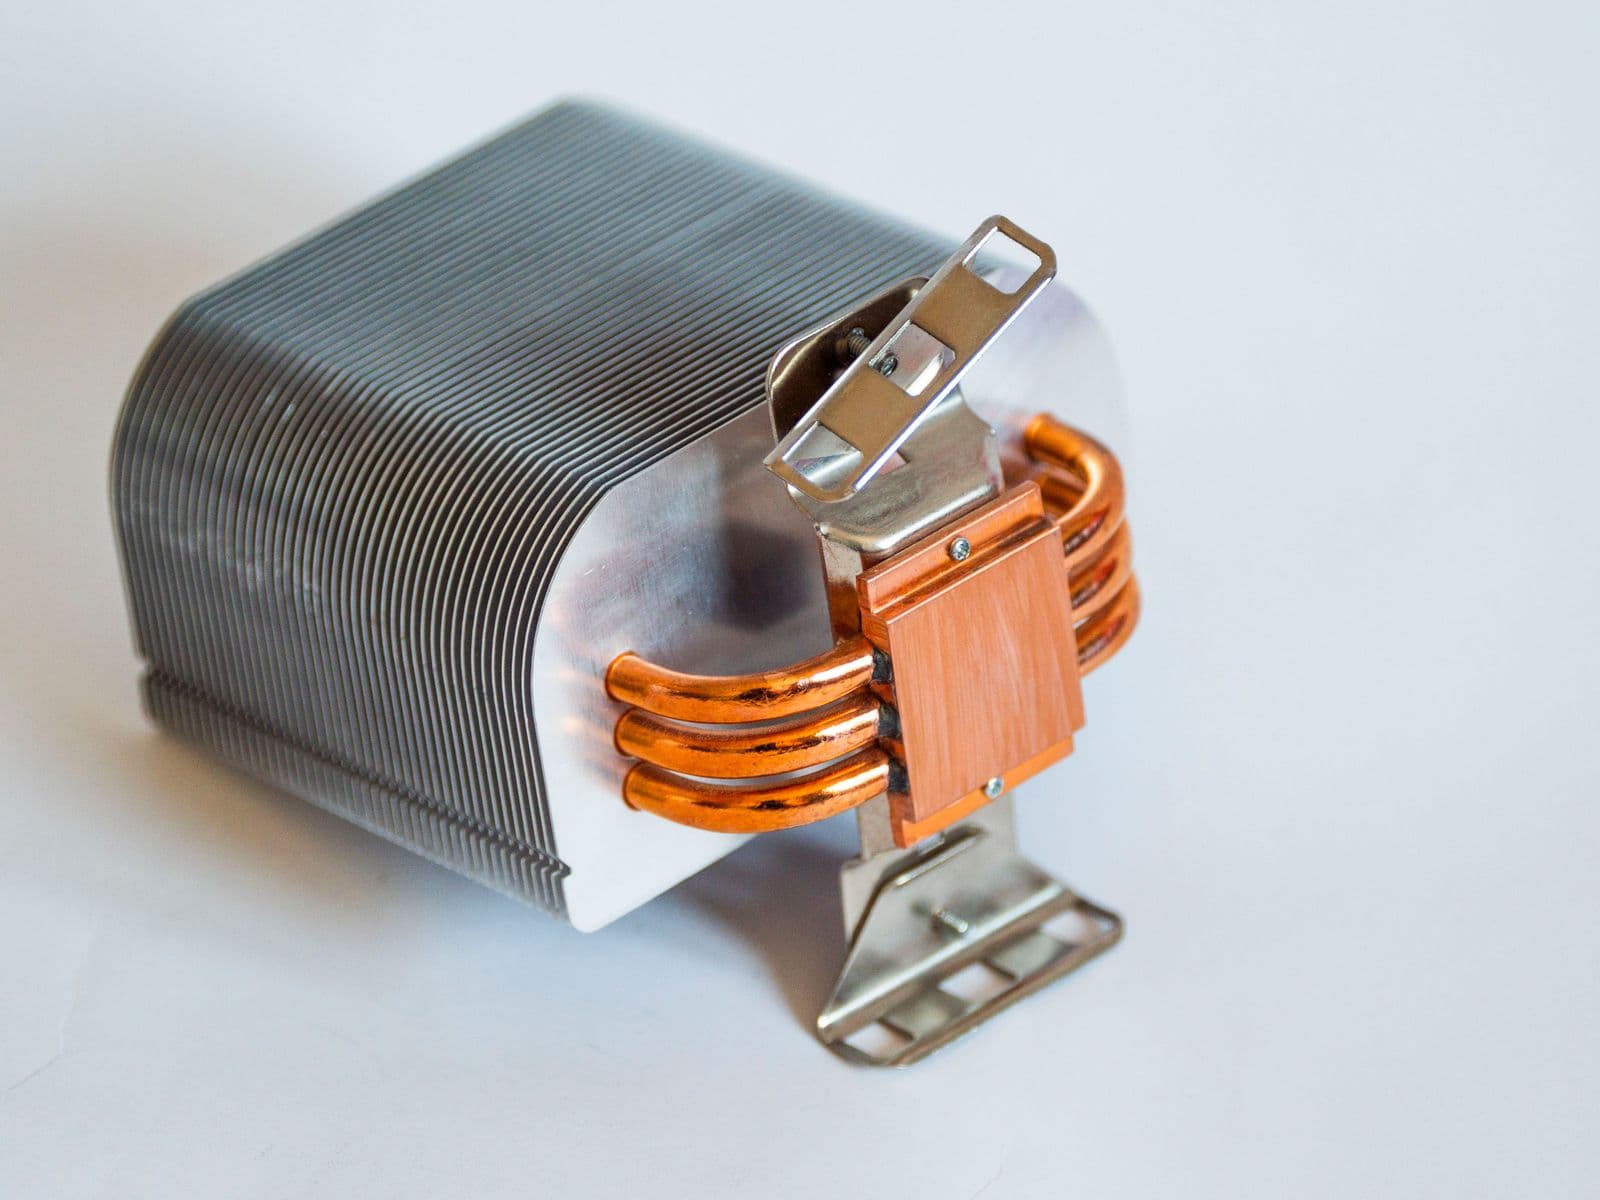
Even pressure across all four mounting points matters more than raw tightness. A cooler that's fully tightened on one side and loose on the other seats at a slight angle, which can leave one edge of the CPU with a thinner paste layer than the rest, showing up as higher temperatures than expected once you're under load.
What Happens If You Use Too Much or Too Little
Too little paste leaves bare patches on the CPU with nothing to transfer heat across. Those spots act as tiny insulating gaps between the metal surfaces, and the CPU runs hotter than it should under load, sometimes enough to trigger thermal throttling where the chip slows itself down to avoid overheating.
Too much paste usually just makes a mess. It squeezes out from under the cooler and pools around the edges of the CPU socket. That's not typically dangerous with a standard non-conductive paste, since it won't damage anything sitting nearby, but it doesn't improve cooling either. A thick excess layer can actually act as a mild insulator itself if it's thick enough that the cooler can't fully compress it, so more is not a safety margin, it's just wasted paste and extra cleanup.
If you're seeing high temperatures after a build and suspect the paste application, pull the cooler and check for visibly uneven coverage. The how to test your PC after building guide covers what normal stress-test temperatures look like so you know whether a reseat is actually needed.
Is Liquid Metal Different?
Liquid metal thermal compounds cool noticeably better than standard paste, but they're electrically conductive, which standard paste is not. A stray drop that touches the motherboard, socket pins, or nearby components can cause a short. Liquid metal also reacts with bare aluminum coolers over time and requires more careful, precise application than a standard paste job.
For a first build, this risk isn't worth the marginal temperature gain. Standard non-conductive paste, applied correctly, keeps a typical gaming CPU well within safe operating temperatures. Liquid metal is a tool for experienced builders chasing the last few degrees on an overclocked, exposed setup, not a default choice.
How Often to Reapply Thermal Paste
Roughly every 1 to 3 years for a typical gaming PC, or any time you remove the cooler for any other reason, such as a CPU upgrade or a case swap. Paste gradually dries out and loses some of its heat-transfer effectiveness over that timeframe, and even paste that still looks intact has usually degraded some by the two-year mark.
You don't need to preemptively pull a cooler that's working fine well within that window just to check. If idle and load temperatures are staying in a normal range for your CPU and cooler, the existing application is doing its job. Reapply when you're already inside the case for another reason, or when temperatures have crept up without any other explanation like dust buildup or a fan failure.
Where This Fits in the Full Build
Applying thermal paste happens right after the CPU is seated and right before the cooler goes on, a narrow window in the build where it's easy to rush past. The how to install a CPU guide covers the socket installation step that comes immediately before this one, including which CPUs ship with a cooler already in the box.
For the full build sequence from an empty case to a first boot, the how to build a gaming PC guide walks through every step in order, including exactly where paste and cooler mounting fit relative to the motherboard, RAM, and GPU. If a cooler comes up short on thermal headroom for your CPU, or you're shopping for one before you start, the best CPU cooler guide for 2026 ranks options from budget air coolers to 360mm AIOs. The common PC building mistakes guide also covers a related failure: leaving a protective film on a pre-applied cooler base, which blocks paste contact entirely and causes overheating on first boot.
If you haven't picked a CPU or cooler yet, the PC Builder matches a compatible cooler to your CPU and budget automatically, so you land on a pairing that has enough thermal headroom before you're standing at the socket with a syringe of paste in hand.
Frequently Asked Questions
How much thermal paste should I use?
A grain of rice to a pea-sized dot, roughly 3-5mm across, is enough for any current CPU. The cooler's mounting pressure spreads it into a thin, even layer across the whole surface. More paste doesn't cool better; it just squeezes out the sides.
Should I use a dot, a line, or an X pattern?
Match the pattern to your CPU's shape. A single center dot works best on square integrated heat spreaders like AMD AM4 and AM5. A line down the middle works better on rectangular ones like Intel LGA1700 and LGA1851, since a dot alone can leave the short ends uncovered.
How often do I need to reapply thermal paste?
Every 1 to 3 years for most gaming builds, or any time you remove the cooler for any reason. Paste dries out and loses effectiveness over time, and pulling a cooler off breaks the seal even if the paste still looks fine.
What happens if I use too much or too little thermal paste?
Too little leaves bare patches on the CPU with no paste to transfer heat, causing hot spots and higher temperatures under load. Too much usually just squeezes out around the edges and makes a mess. It's rarely dangerous unless the paste is electrically conductive, but it doesn't help cooling either.
Do I need to spread thermal paste with my finger or a card?
No. Place the paste and let the cooler's mounting pressure spread it when you seat it. Manually spreading it first, with a finger or a card, tends to trap air bubbles under the layer, which hurts cooling more than an imperfect dot would.
How do I remove old, dried thermal paste?
Wipe off the bulk of it with a dry paper towel or coffee filter, then clean both the CPU and the cooler base with a cloth dampened in 90%+ isopropyl alcohol until no residue is visible. Let it air-dry for about a minute before applying fresh paste.